How To Add Signature In Hostinger Webmail (2026 Guide)
Last Updated 13 September 2026 by Jarvis Silva
A professional email signature reinforces your brand identity, establishes credibility with clients, and automatically provides essential contact details, website links, and social channels with every sent message.
In this 2026 step-by-step tutorial, we show you how to configure a clean, responsive email signature in Hostinger Webmail in under two minutes.
⚡ Quick Answer: How to Add Signature in Hostinger Webmail
- 1Log in to your Hostinger Webmail at
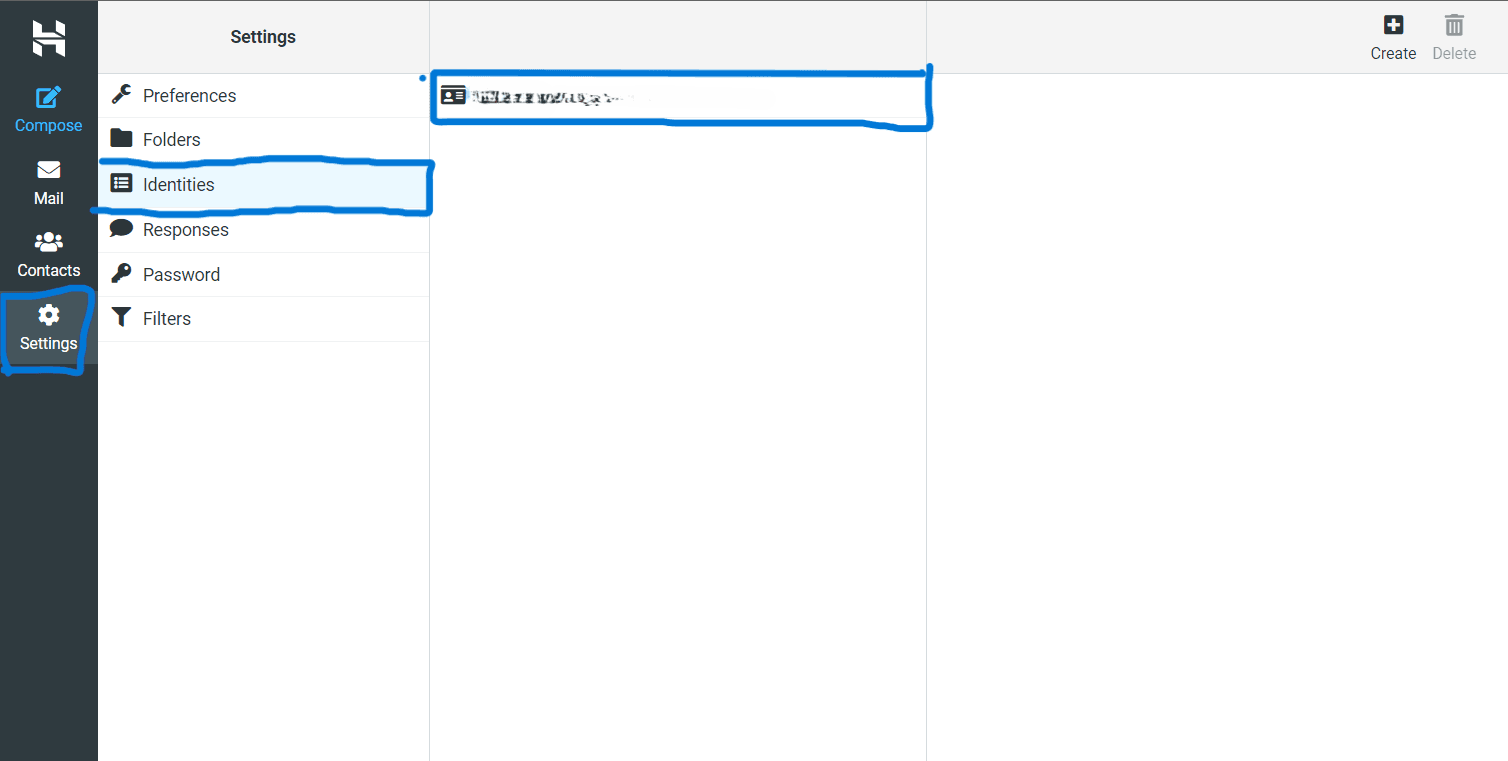
mail.hostinger.com. - 2In the left navigation menu, click Settings (gear icon) > Identities.
- 3Click on your email address under the Identities column.
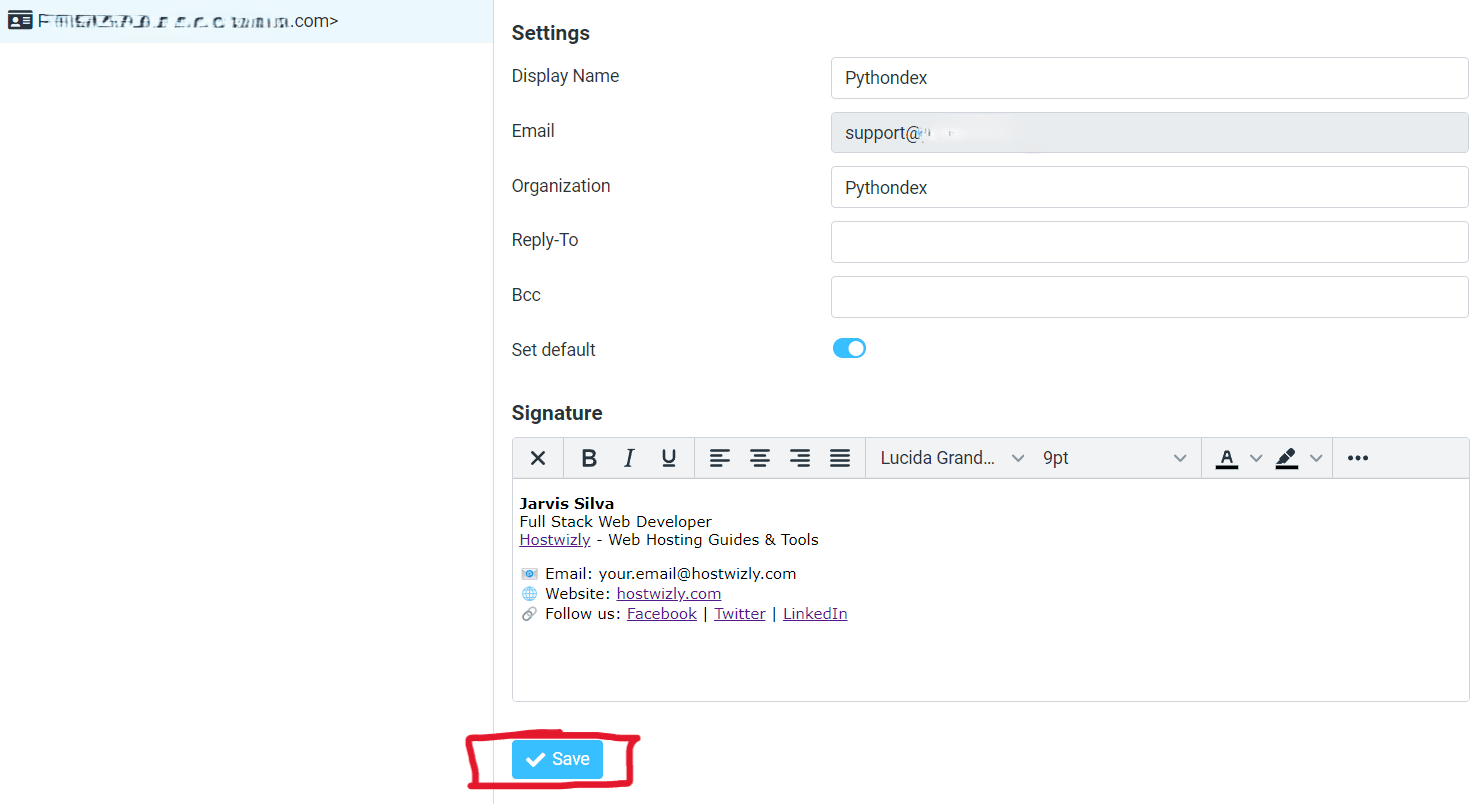
- 4In the Signature section, enter your contact info and click Save.
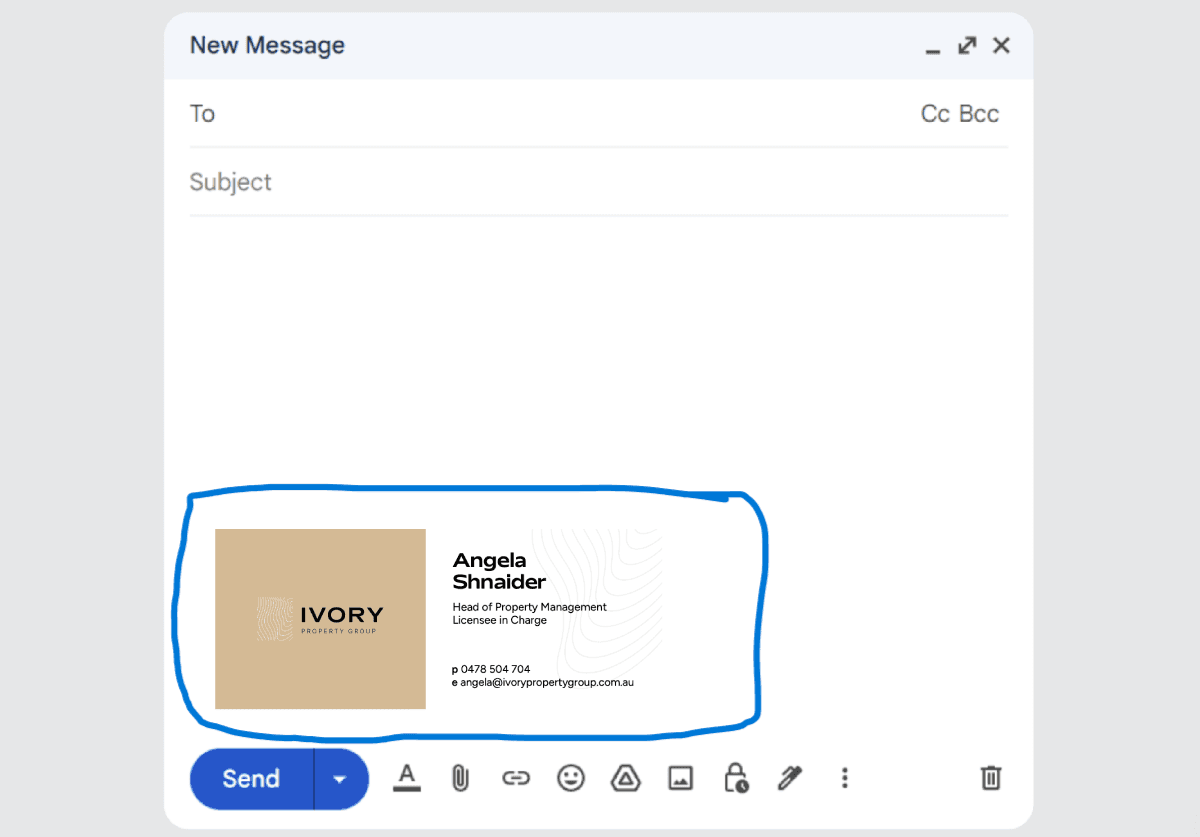
Step-by-Step Walkthrough
- Log In to Webmail: Navigate to mail.hostinger.com and enter your full business email address and password.
- Open Settings > Identities: In the left-hand toolbar, click the Settings icon, then select Identities. Click your email address to open the identity configuration form.
- Compose Your Signature: Scroll down to the Signature field. You can enter plain text or click the HTML switch in the formatting toolbar to enable rich text, bolding, font styling, and hyperlinks.
- Click Save: Click the blue Save button. Your new signature will now attach automatically to every new email and reply you draft.
Pro Tips: Adding Logos & Formatting HTML Signatures
- Use Hosted Image URLs: Because webmail signatures cannot host raw image files directly in the text field, upload your logo to your website (e.g.
https://yourdomain.com/logo.png) and insert the image link. - Keep it Mobile-Friendly: Avoid excessively wide banner images. Aim for a maximum logo width of 150px to 200px so it displays crisply on smartphones.
- Add a Disclaimer: For business or legal compliance, you can add a subtle gray footer note regarding confidentiality beneath your primary contact information.
Looking for Dedicated Business Email & Web Hosting?
Hostinger Business Hosting includes 100 professional domain mailboxes, anti-spam protection, 200 GB NVMe storage, and free domain registration with up to 75% OFF.
Frequently Asked Questions
Can I add an image or company logo to my Hostinger email signature?
Yes. In Hostinger Webmail Settings > Identities, click the HTML icon (or toggle the HTML switch) in the signature editor toolbar. You can then click the 'Insert Image' button to paste the URL of your hosted company logo.
Why does my Hostinger email signature not show up in new emails?
Go to Settings > Preferences > Composing Messages, and ensure 'Automatically insert signature' is set to 'always' or 'new message only'. Also check that 'Compose HTML messages' is set to 'always'.
Does this signature apply to Outlook or Gmail if I connect Hostinger email?
No. Signatures created inside Hostinger Webmail only apply to emails sent from mail.hostinger.com. If you connect your email to Gmail or Microsoft Outlook, you will need to configure your signature inside those client settings.
How many different signatures can I create in Hostinger Webmail?
You can create multiple identities under Settings > Identities, each with its own customized signature (for example, one for support inquiries and one for sales outreach).
Read related Hostinger email guides:
About the author
I am Jarvis Silva, a tech enthusiast. I have 5 years of experience in website hosting and development, Now sharing all my knowledge related to web hosting and other various tech on the internet through Hostwizly.
