Host React App On Hostinger Shared Hosting
Last Updated 04 April 2025 by Jarvis Silva
Looking for tutorial on hosting your website made using react js on Hostinger then you are at the right place, In this tutorial I will show you step by step how to host react app on Hostinger using it's shared hosting plan.
React JS is popular frontend framework used to create fast dynamic websites and Hostinger provides one of the best web hosting at affordable prices.
I will be using Hostinger's premium shared hosting plan, it is perfect for starting out as you can host 100 websites, also you get a free domain, ssl and more.
Read : Hostinger premium web hosting review
Don't Have A Hostinger Account Yet
Get 70% Discount On Web Hosting Plans + 3 months FREE
1. Create a build version of react app
- Go to your react app project and open a terminal at your project folder location and enter the below command:
npm run build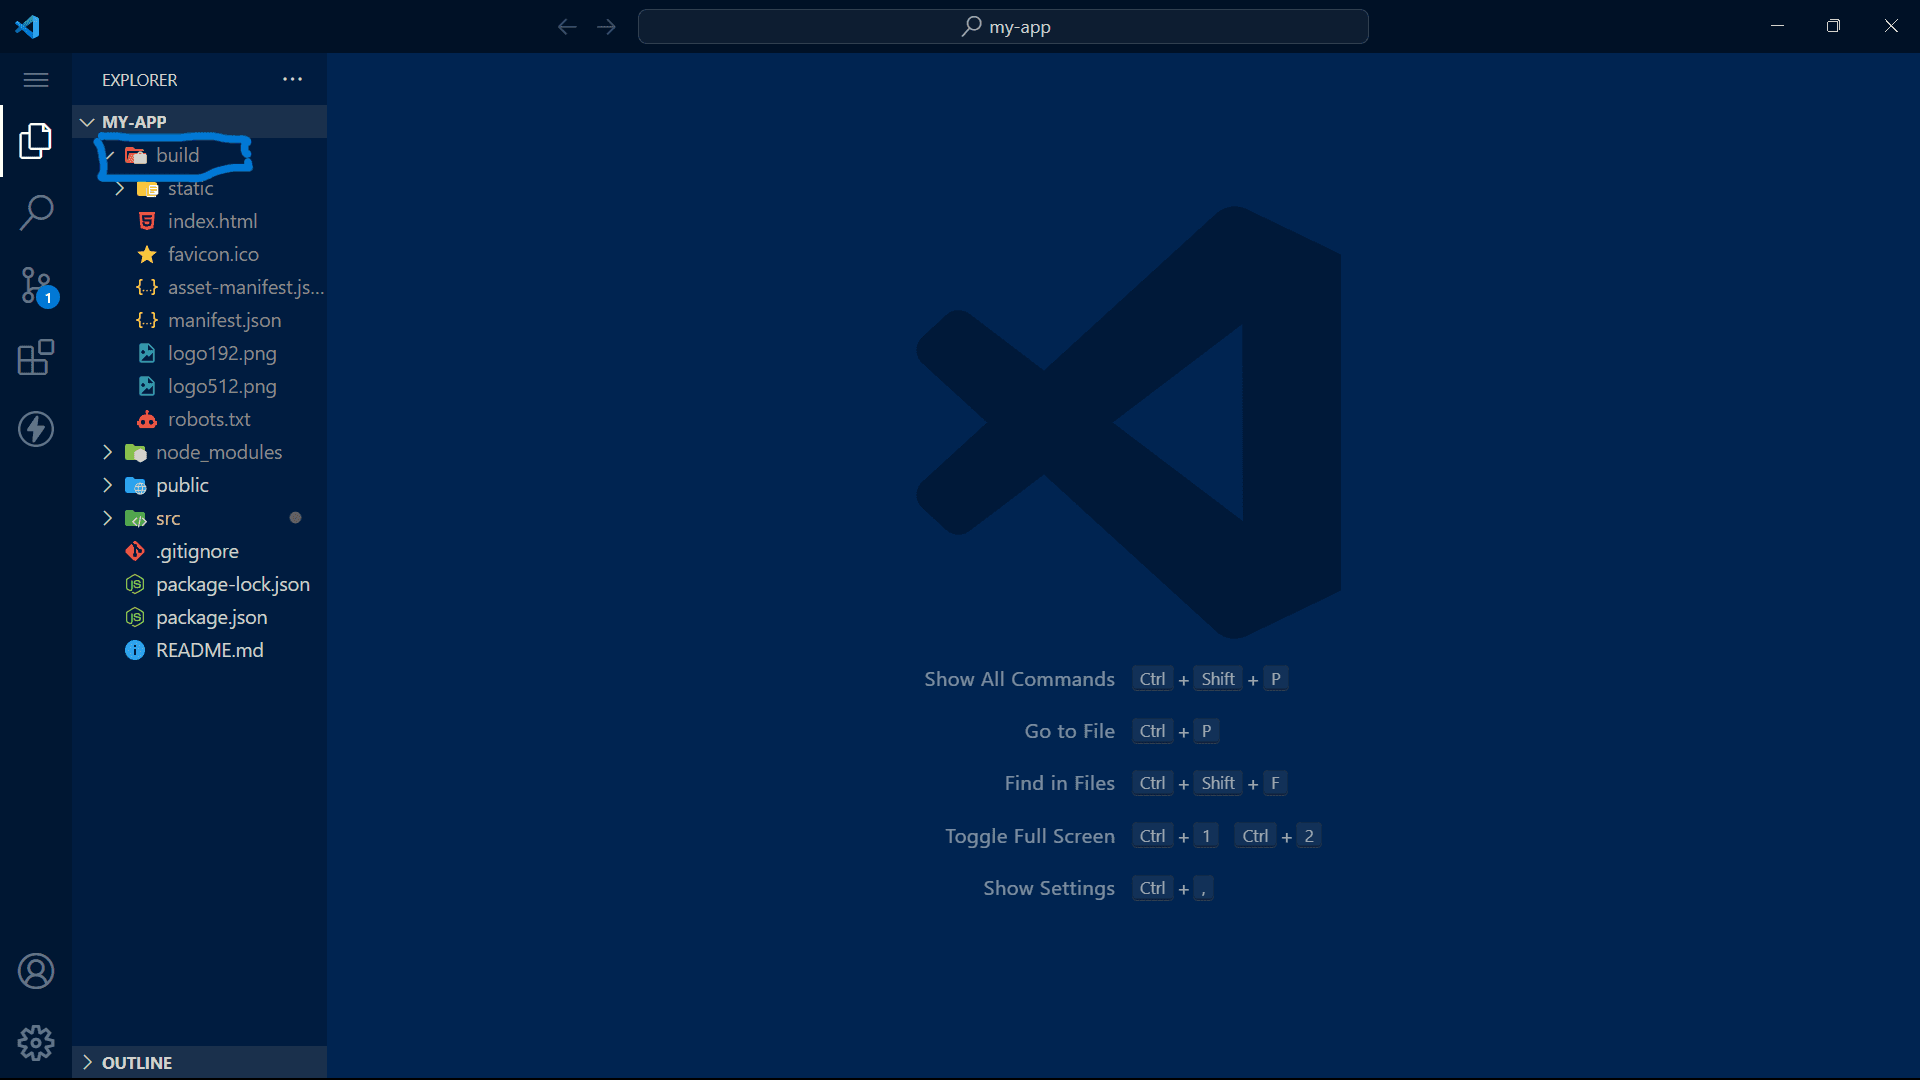
2. Setting up Hostinger and domain
In this step we will see how to setup hostinger hosting and domain if you already have hostinger account and a domain then you can skip this and go to the next step.
1. Sign up for a Hostinger Account
Use this special Hostinger discount link you will get web hosting at discounted price, For hosting this react website you can get Hostinger's single or premium shared hosting plan, I would suggest you go with the premium as it is price worthy it will get you a free domain, a ssl and can host multiple websites.
Complete the registration process by providing the necessary details and selecting a payment method.
2. Configure Domain Settings
Once you have successfully created your Hostinger account, log in to the control panel which is the hpanel and under the Domains section, click on "Add Domain." Here, you have two options: register a new domain or use an existing one.
Register a New Domain
With hostinger premium shared hosting you can register a free domain and you don't have to do any domain configuration if you register domain with hostinger.
Or use an Existing Domain
If you already have a domain with another provider then you can use that domain you just need to point it to hostinger nameservers, To update your nameservers follow this guide: Setup domain in hostinger or contact hostinger support for help if you are facing problems with domain configuration.
You can also create a subdomain and host your react app on it, to create a subdomain in Hostinger follow this tutorial:How to create a subdomain in Hostinger.
3. Upload build folder to Hostinger
- After setting up hosting and domain now we just need to upload the react build folder files to Hostinger file manager to do that go to your Hostinger hpanel and click on the file manager.
- It will show you option to access your files of your website click on it and it will open file manager where you will see a public_html folder inside which you will put all your code files.
- So go inside public_html folder and now drag and drop everything from the react build folder inside public_html folder it will look like below.

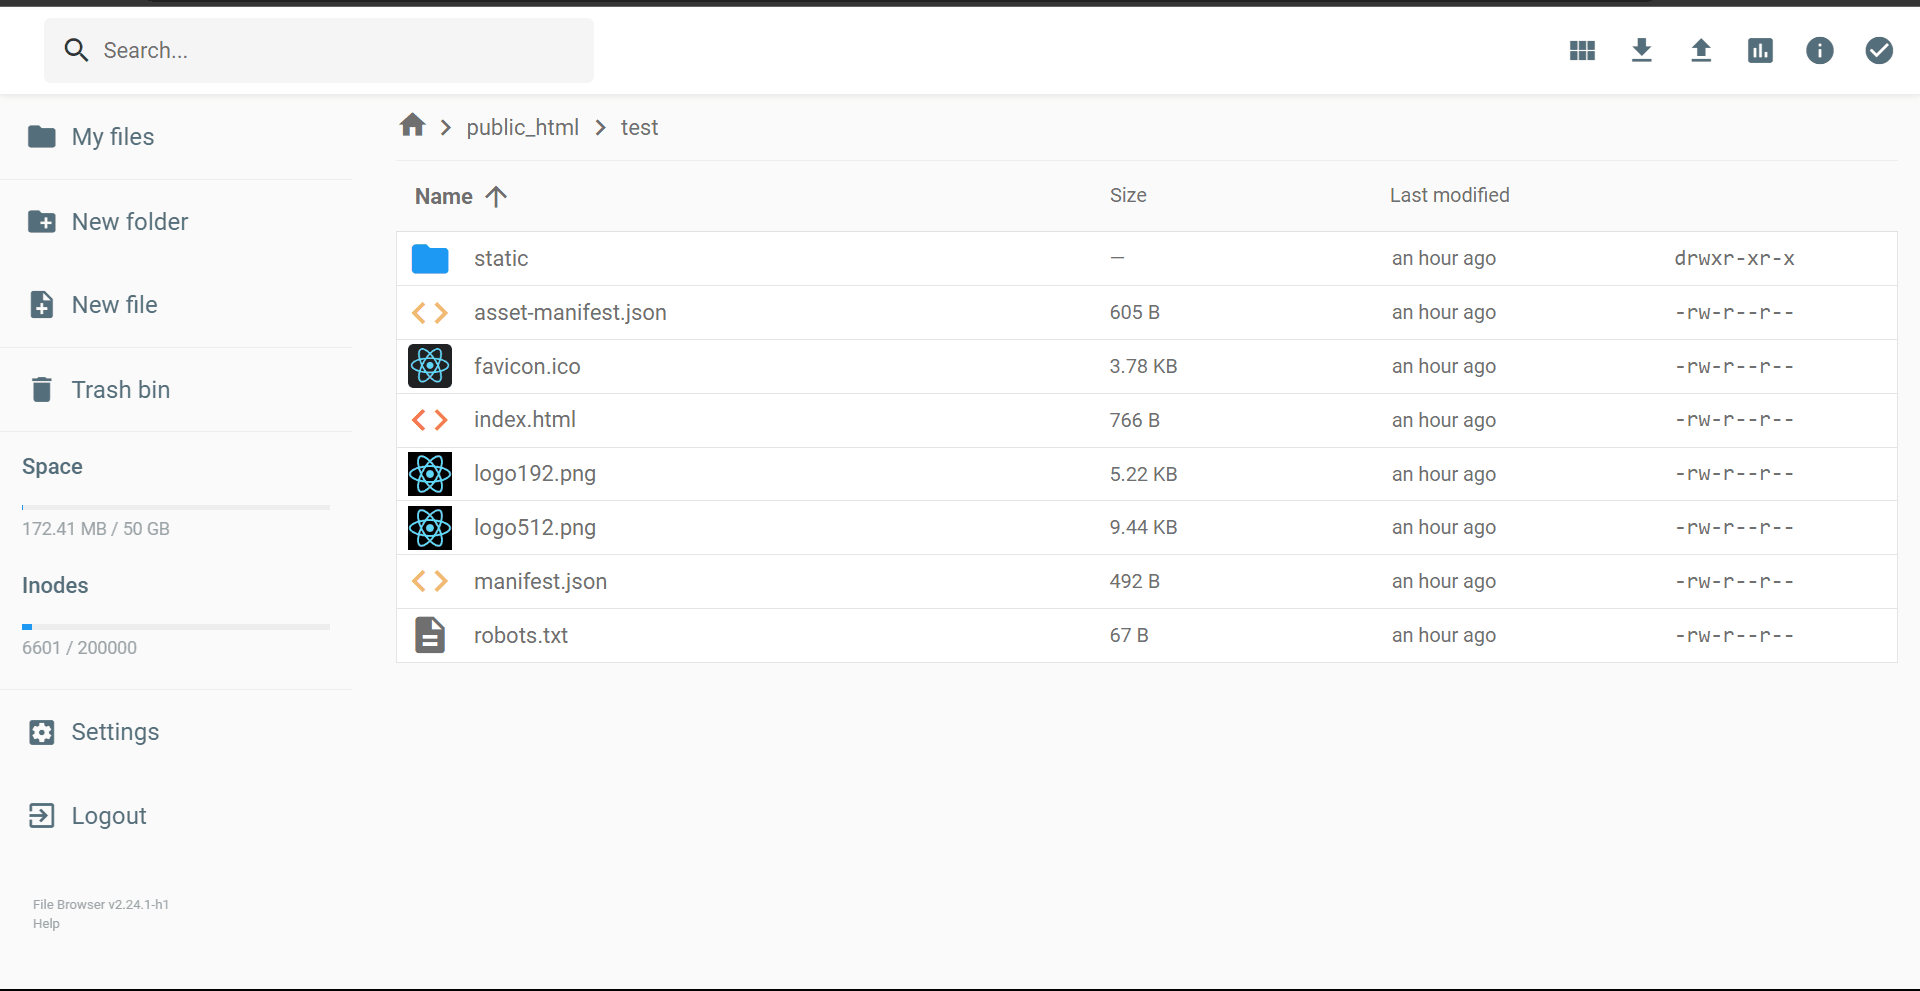
This was it now if you configured your domain properly and if you visit your domain you should see your react app showing up.
If your react website is loading then congratulations for successfully hosting your react website in Hostinger.
if you are facing any domain related or hosting issues then you can contact Hostinger customer support they will help you to solve your issues.
I hope you found this article helpful and useful, do share it with someone who needs it and thanks for reading.
About the author
I am Jarvis Silva, a tech enthusiast. I have 5 years of experience in website hosting and development, Now sharing all my knowledge related to web hosting and other various tech on the internet through Hostwizly.